 |
| Hello Kitty! |
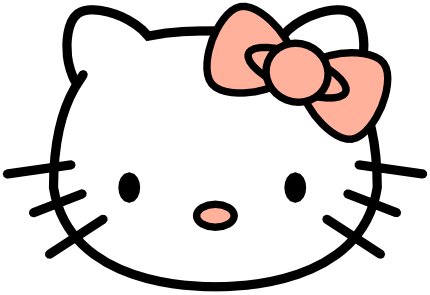
So the last post I did was drawing a pumpkin. I am not too happy with that so I wanted to get something new up quick. Being in a somewhat Asian mood this morning, I decided a nice simple project would be to use Inkscape to draw Hello Kitty.
Because of the simplicity of the Hello Kitty shape, I will make this more of a beginning tutorial and focus more on the technicalities rather than the principles.
Step 1: Setup the page
Open up File>Document Properties. Change the units to px and change the document to be 400px wide and 300px tall.
Hello Kitty is pretty precise as an image, but all of the images are non standard. We could try to guess the shapes but we may as well do it right and get everything exact using guidelines. This turns out to be a beast of work
This tutorial is going to be super heavy using guidelines and exact dimensions for shapes. If technicality is not your thing, you may not want to endeavor on this project.
Step 2: Setup the guidelines
Yep; that is right. That is a plethora of guidelines. We need them all to make Hello Kitty as exact as possible. Here you see three main groups of guidelines. The main one on the page is for the head, then next (group to the right) is for the bow, and the final grouping with angled guidelines is for the whiskers.
To bring out a guideline, you simple click outside the drawing canvas where the ruler is and drag onto the canvas. Click on the top for horizontal guidelines and click to the left for vertical guidelines.
Here is what we need:
Horizontal Guidelines - 11
Vertical Guidelines - 22
Diagonal Guidelines - 2
Drag them anywhere just to get them out.
Once all the guidelines are on the screen, let us place them more precisely.
Double click on a guideline and it will give you options to make them more exact.
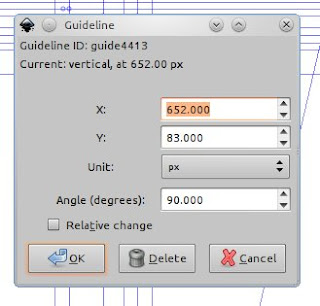 |
| This is what the dialog box looks like when you double click on a guideline. |
260, 245, 240, 120, 110, 100, 83, 72, 60, 50, 15
Vertical lines (X coordinates only):
45, 60, 95, 117.5, 123.5, 140, 182, 200, 218, 260, 276.5, 282.5, 305, 340, 355, 508, 530, 580, 610, 630, 652, 940
Diagonal lines (all coordinates must be exact):
X= 94, Y = 83, Angle = 77 | X =955, Y = 190, Angle = 102
Sorry.... that was no fun. Good part is that boring stuff is over. Now with everything set up, things should go pretty smoothly.
Step 3: The Head
Use the Bezier pen tool to make the basic shape. Set the stroke width to .25
Use the picture below as a reference to where your points should snap.
Once you have completed the shape, use the node tool to select the shape. Start dragging the sides to form the shape of the Hello Kitty head.
Now snap the nodes to the guidelines. Look for the yellow circles I added to help you know where you need to place the curve nodes.
Step 4: The Ears
For the ears, we will use the Stars and Polygons tool. With that tool selected, use the following settings: Corners = 3, Spoke Ration = .815, Rounded = .3 Randomized = 0.
You still want the stroke width to be .25
Use the picture as a guide where you need to snap the points of the star (ear). The green circle is where you need to start, the red circle is where you stop.
Now we need to join the ears with the head. To do this, highlight one of the ears, then highlight the head while holding the shift key. Then apply Path>Union (CTRL + SHIFT + +). Repeat for the second ear.
Now use the node tool and break apart the nodes where the bottom of the ear meets the head. Grab the line from the head and move it up a bit (as shown below).
Make the end cap rounded.
Step 5: Eyes
Use the circle tool. Make sure width is still on .25
Colored dots indicate where to start and stop. Hold shift while drawing the circle. Fill the new circle black.
Step 6: Nose
Change the circle width to .2 and draw the nose. Hold shift while drawing.
Fill the nose with a pink color.
Step 7: The Bow
Move over to the next area (to the right) of guidelines to do the bow.
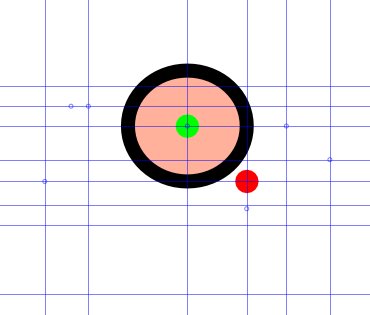 |
| Add a circle holding shift. |
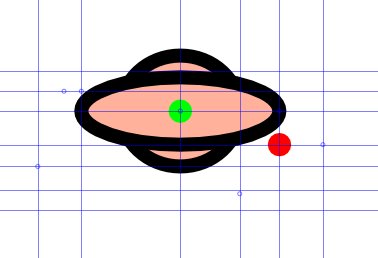 |
| Create a circle on top of that (holding shift). |
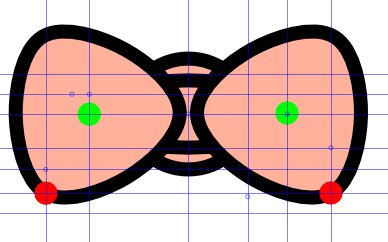 |
| Use the star tool to make two shapes for the bow. |
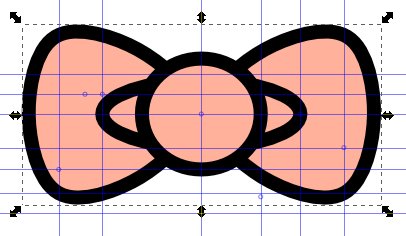 |
| Change the order of shapes so it looks like a bow. |
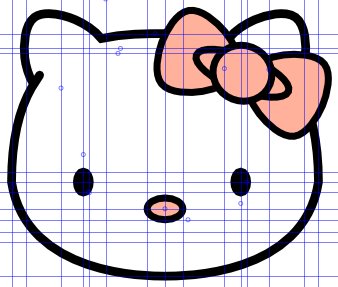 | ||
| Group the shapes together, rotate them, then place it over the ear. |
Move over to the last section of guidelines.
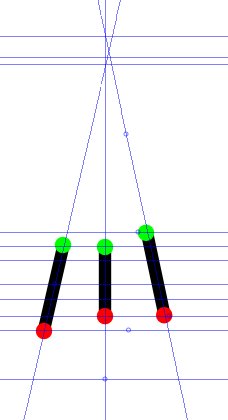 |
| Use the bezier pen tool to make the whiskers. Make the stroke width .25 and make the caps rounded. |
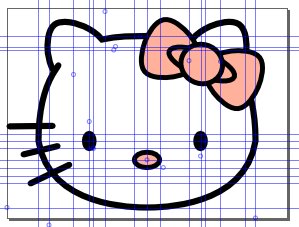 |
| Group the whiskers, then move them onto Hello Kitty. |
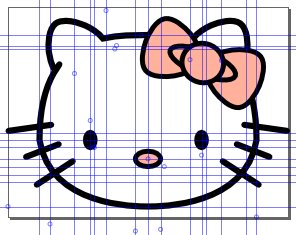 |
| Copy the grouped whiskers and move them to the other side. |
 |
| Hello Kitty! |
Wow. That was a lot more work than intended. Hope you love the vector Hello Kitty!


I will recommend it to my daughter! She will love it!
ReplyDelete